Timecoding Ranges
This page outlines the software and processes for defining audio timecode ranges as part of Stage 2 Cataloguing.
Timecode ranges are required to be recorded in SMPTE25 so they are interoparable with the AV SIP Generator.
1. Reaper
Cockos Reaper is an affordable, fully-featured DAW that runs natively on Windows, Mac and Linux.
1.1. Timecode Settings
To set the project timecode to SMPTE25:
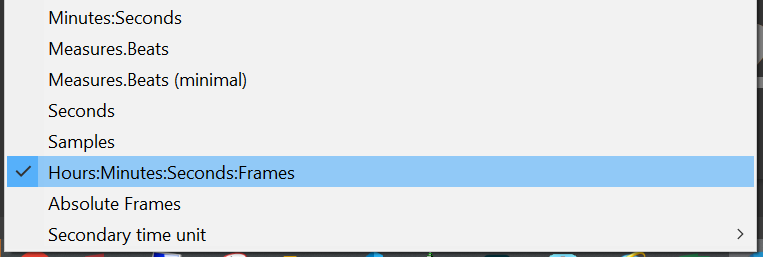
- In the main project window, right-click on the Timeline at the top
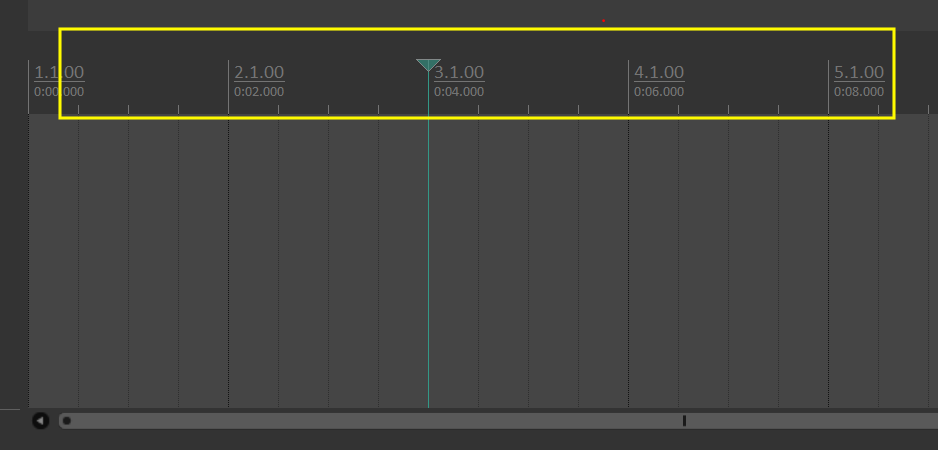
- Select Hours:Minutes:Seconds:Frames from the drop-down menu
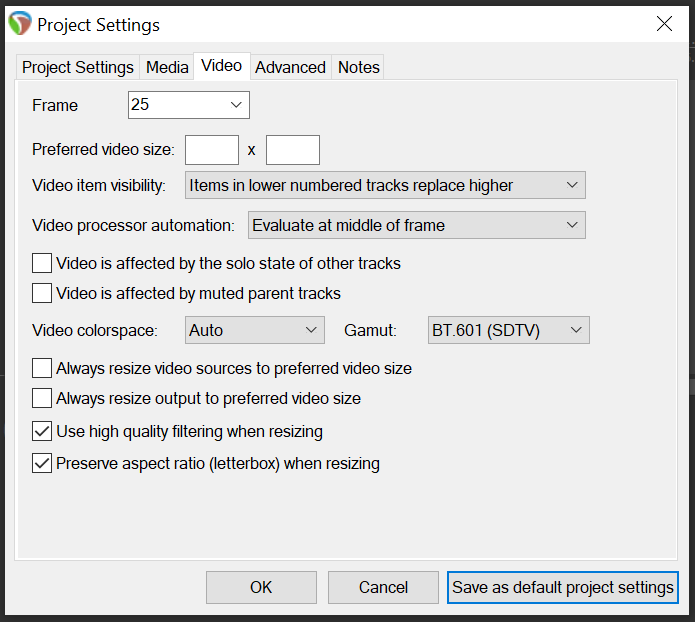
- Open File > Project settings… from the top menu bar
- Select the Video tab
- Set Frame to 25
- Click Save as default project settings to retain the SMPTE timecode or future sessions
1.2. Import Audio
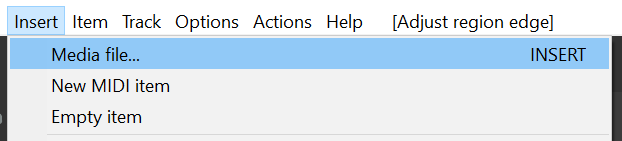
- Select Insert > Media file… from the top menu bar (shortcut: INSERT)
- In the dialog window that opens, navigate to a directory and select the file(s) for import
- Click Open to import the file
Note - files can also be dragged & dropped directly onto the project timeline
1.3. Regions
1.3.1. Region/Marker Manager
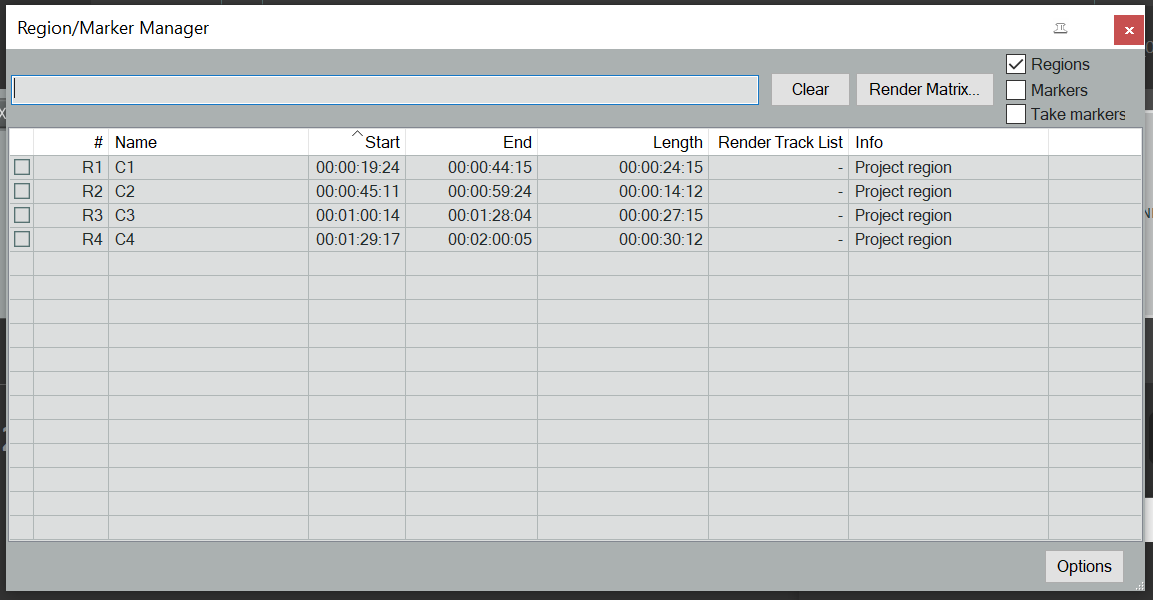
The Region/Marker Manager allows you to view and edit the list of created time ranges, as well as export the list to a csv file.
Important Note the timecode ranges created in Reaper are attached to the project timecode and not the audio file (as with Wavelab). Ensure the audio file is aligned at 00:00:00:00 on the Timeline before creating any time ranges. Press the HOME key before importing any files as this will zero the cursor position
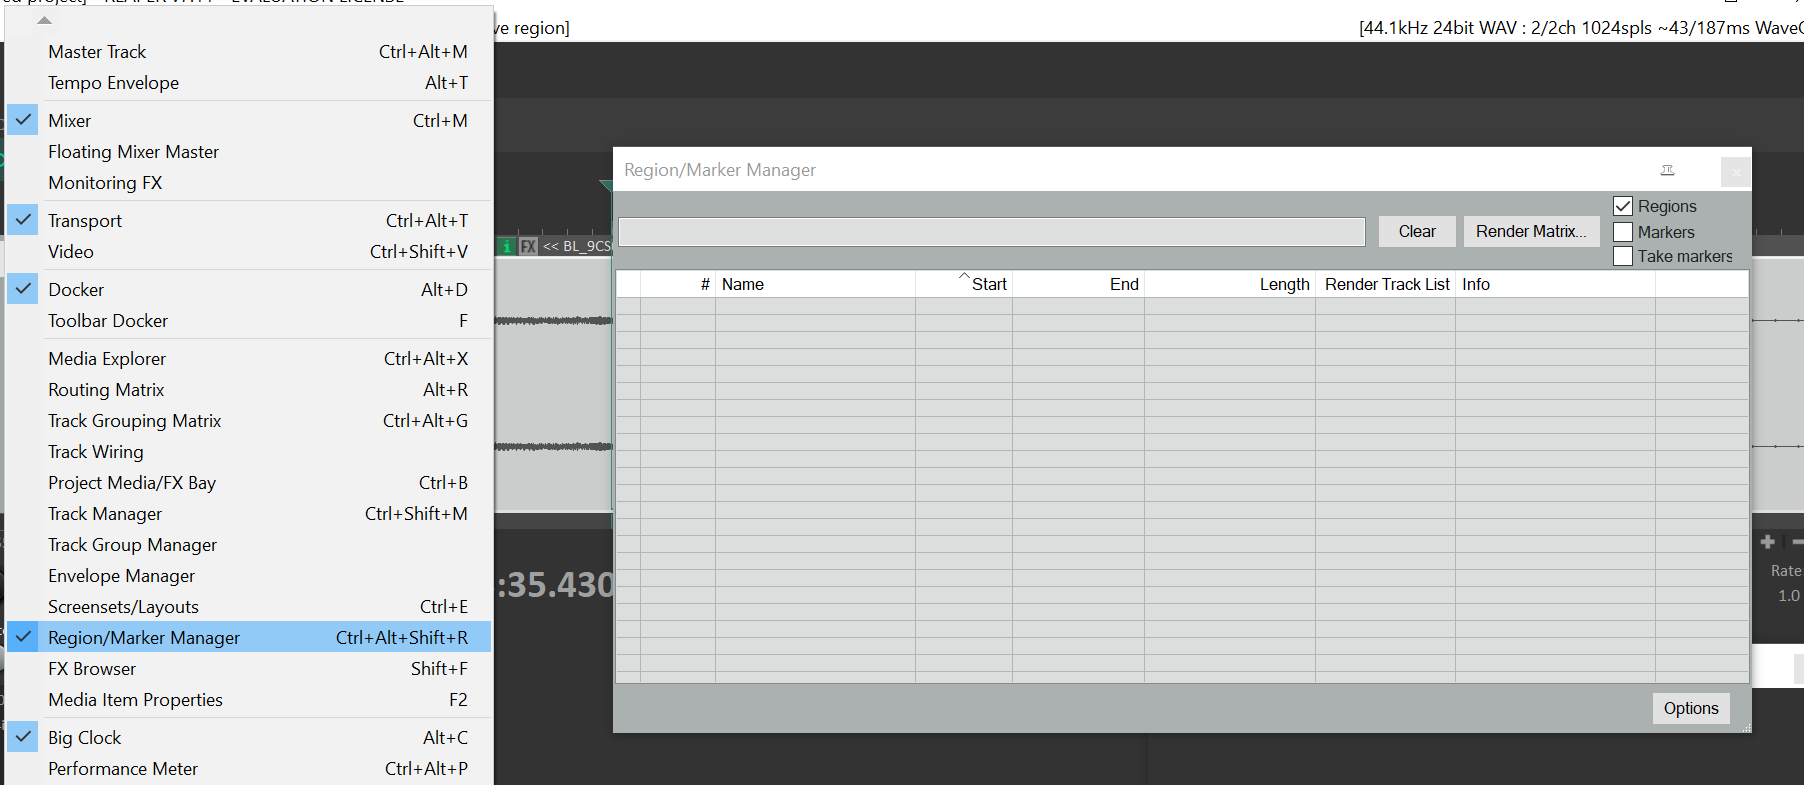
- To open the Region/Manager Manager window, select View > Region/Marker Manger from the top menu bar.
1.3.2. Selecting Timecode Ranges
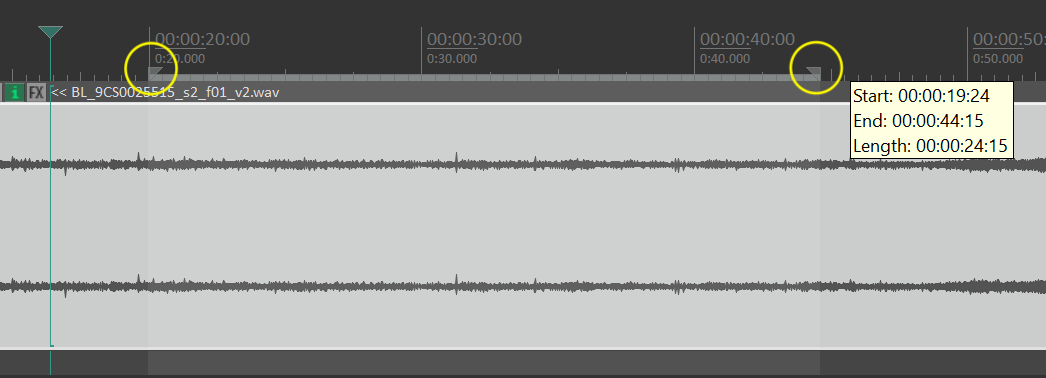
- To create a time range, click and drag the two anchor points on the Timeline to highlight a selected range
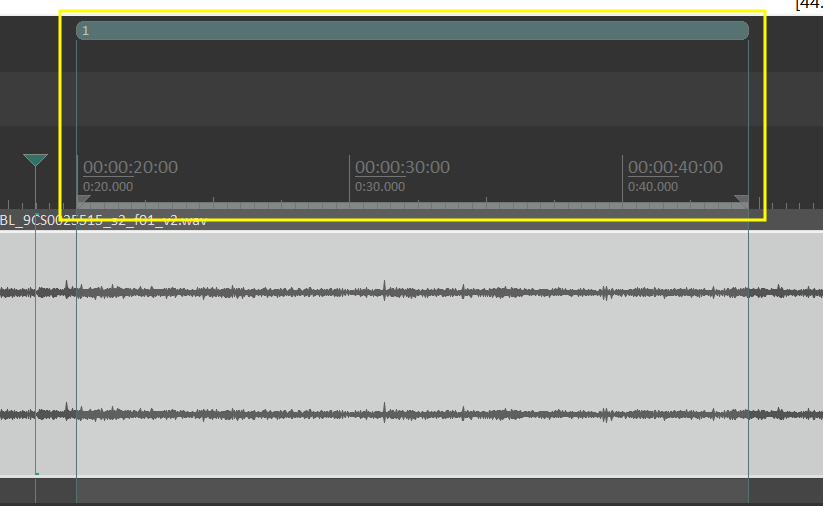
- Right-click the Timeline and select Create region from selection (shortcut: SHIFT + R)
- A new numbered Region will be created above the Timeline
- The created time range will also appear in the Region/Marker list where it can be named and edited
Note - each timecode region should be named with SAMI Call Number it refers to (e.g. C1226-432 C1)
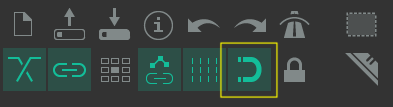
- By default the cursor will be set to “snap” to the timecode grid, to unlock this and allow more freeform selection uncheck the magnet icon in the lefthand toolbar:
1.4. Export Time Ranges
Timecode ranges can be exported to a csv file. To export the the created regions:
- Open the Region/Marker Manager
- Click the Options button
- Select Export regions/markers… in the menu
- A dialog will open, name the csv file and select a save location
Note - csv files should be saved with the same name as the audio file they refer to (e.g. BL_C1226-432_s1_f01_v1.csv)