How to Build a SIP
This guide describes the required steps to build a Submission Information Package (SIP) using the British Library’s AV SIP Generator.
- Step 1: Search SAMI
- Step 2: Select Source Files
- Step 3: File Analysis, Validation, and Transformation
- Step 4: Physical Structure
- Step 5: Process History
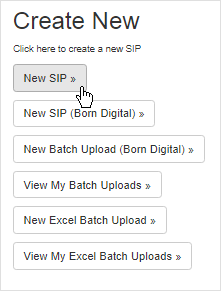
Create a new SIP
- Under the Create New menu select New SIP »
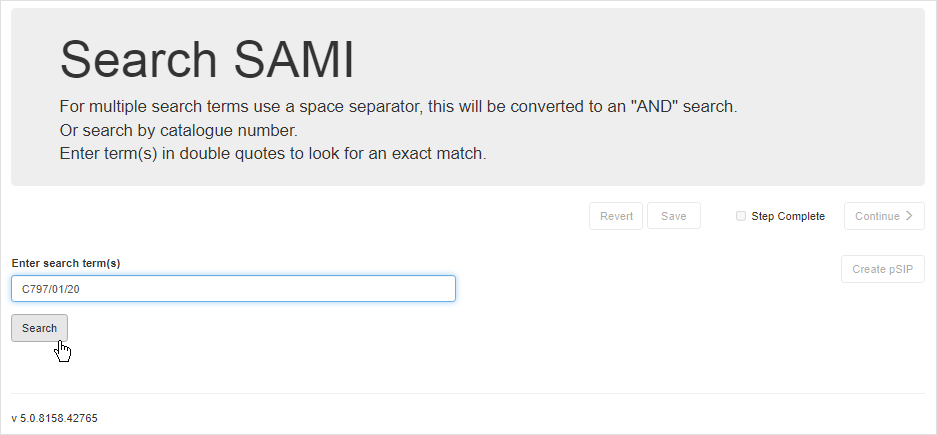
Step 1: Search SAMI
Assign the SIP to the Sound and Moving Image (SAMI) catalogue record
-
Enter the item Shelfmark in the search bar
-
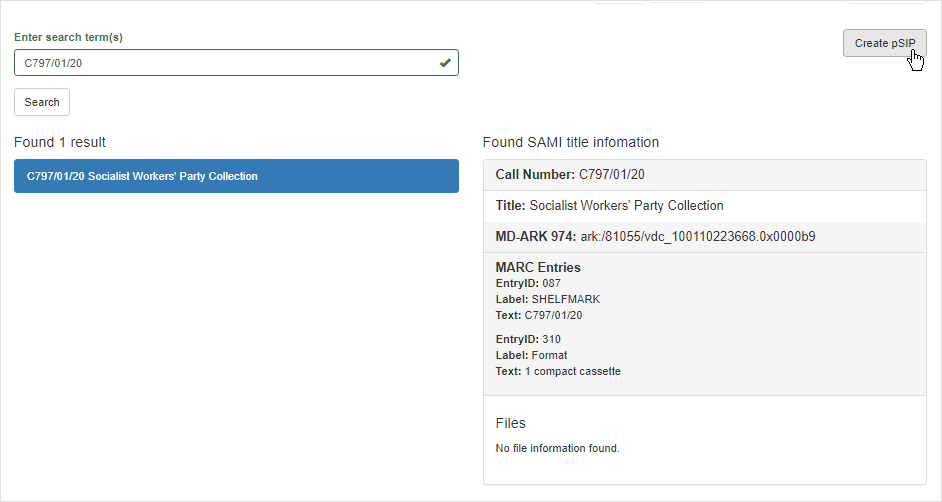
Select the SAMI Product Record the SIP will be assigned to

- The selected SAMI Product will display some basic record information
-
Select Create pSIP to assign the SIP to the Record
-
When created, pSIP created will appear in green below the button

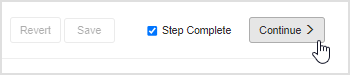
- Once complete, press Save
-
To move to the next Step tick the Step Complete box and press Continue »
Step 2: Select Source Files
Add files to the SIP
- Select the server where the files are located from the Select source path drop-down menu
-
Populate the Navigate to source files directory to add files dialog with the directory address where the files are stored
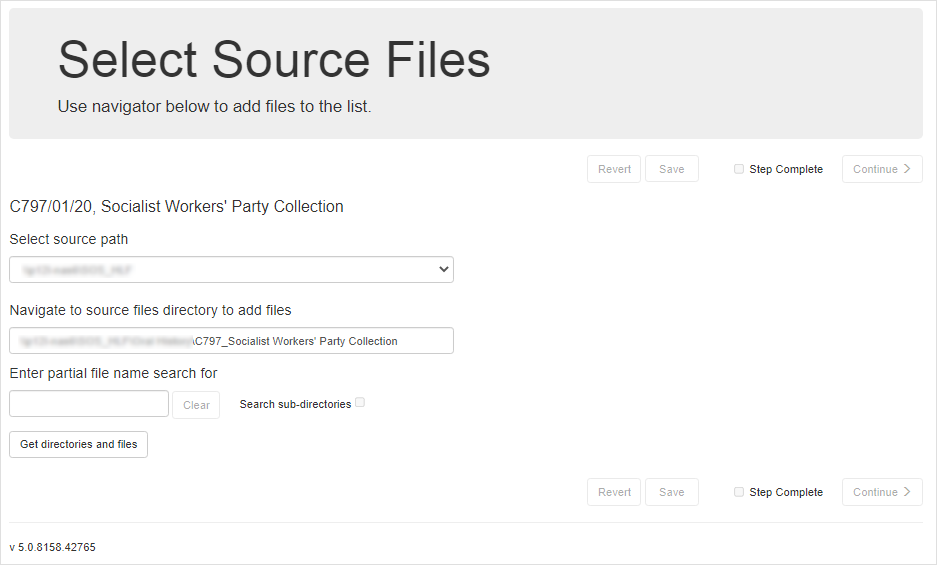
-
Click the Get directories and files button to list the files and directories stored in that location
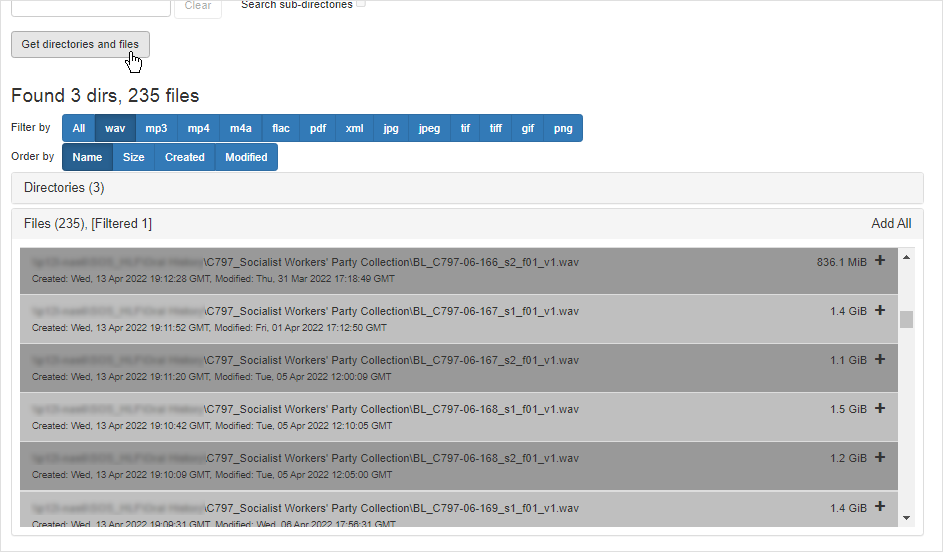
-
Select the files you would like to upload to the SIP from the file list by clicking the plus (+) icon next to the filename

-
The selected files will be listed in the Selected Audio Files: section
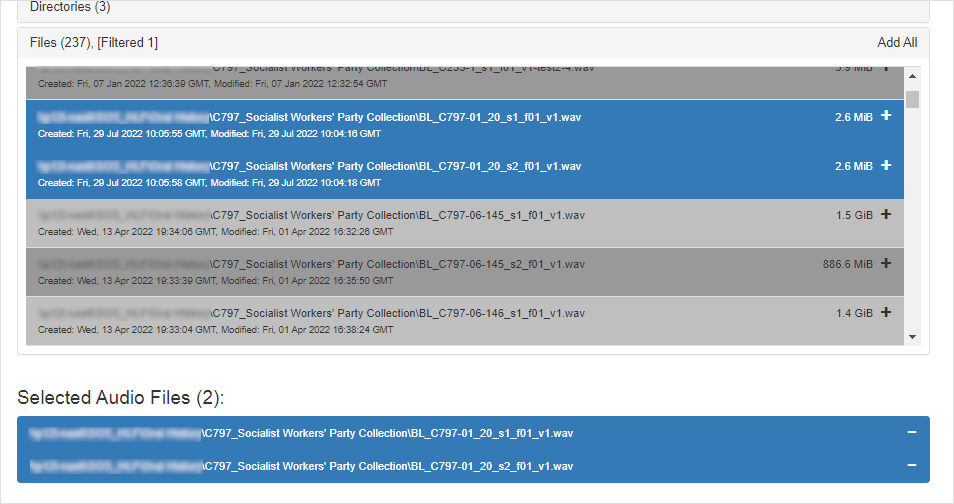
- Confirm the files are correct and listed in sequential order
- Once complete, press Save
- To move to the next Step tick the Step Complete box and press Continue »
Step 3: File Analysis, Validation, and Transformation
Analyse the files for conformity and generate access files.
-
Click the Copy All Files (Overwrite) button
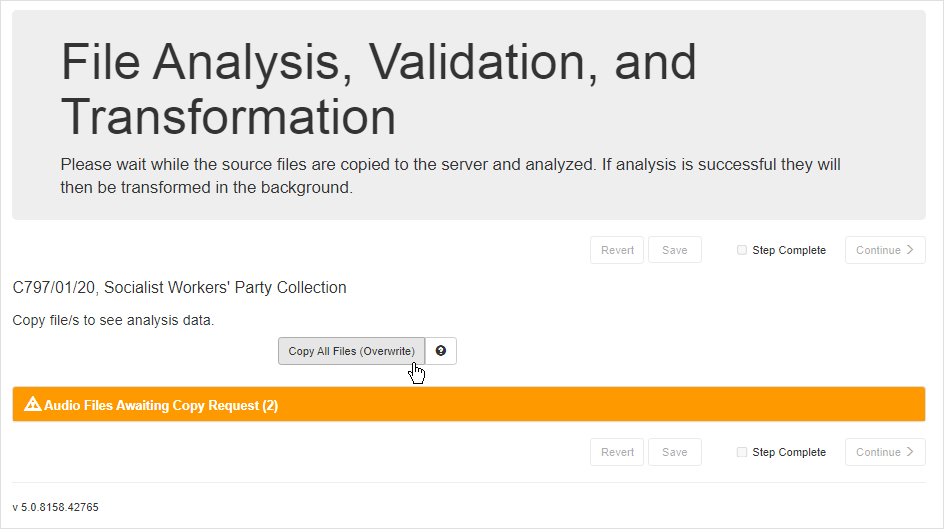
-
The files will be copied from their current location to a hold area

-
The files then will go through a series anaylsis and verifcation checks to ensure they are correctly formed

-
If the verification and analysis checks complete successfully, the files will be passed to transformation servers to create mp4 Access files

-
After successful transformation the status bar will turn green and state All Files Transformed

- Once complete, press Save
- To move to the next Step tick the Step Complete box and press Continue »
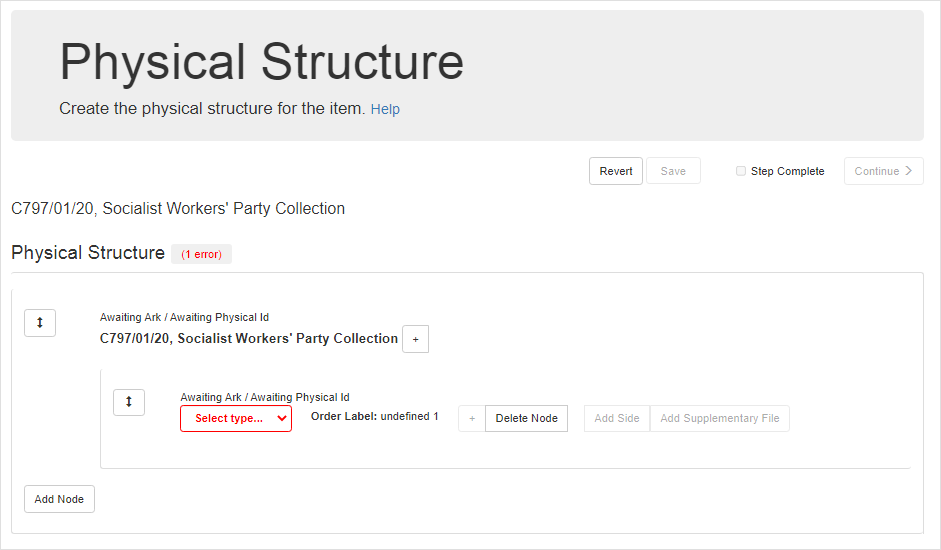
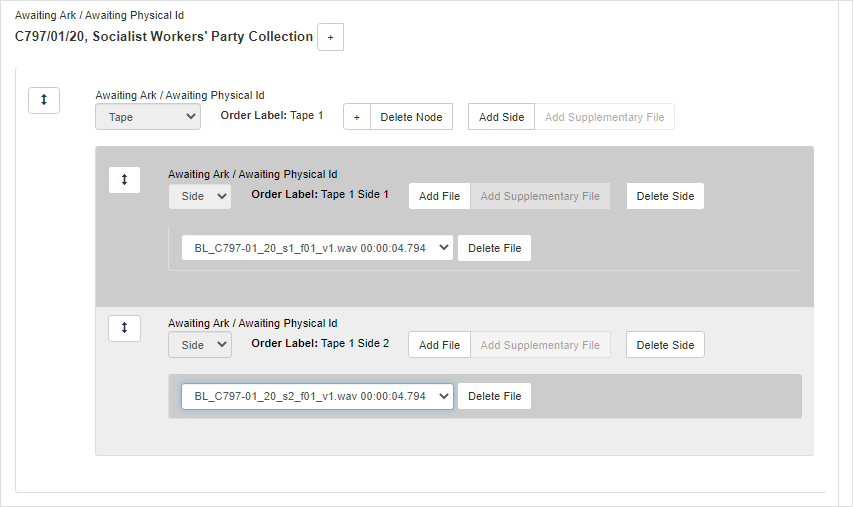
Step 4: Physical Structure
Build a Physical Structure that accurately defines the relationship between the files and the physical item(s) they were transferred from
Note: this page has Auto-Generate Functions available
-
By default an undefined Physical Type will be in-place
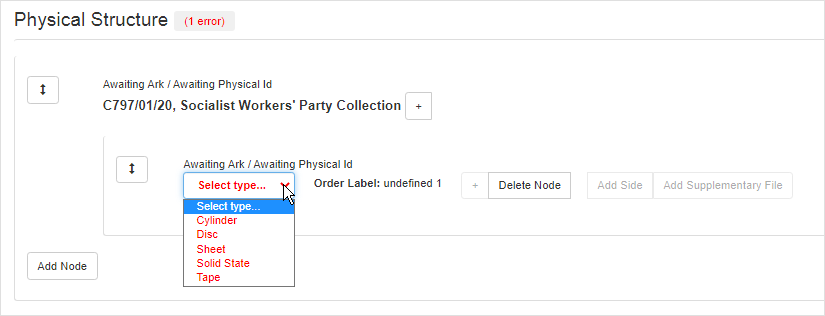
- Click the Select type… and select the transferred items Physical Type from the drop-down list of options
-
A description of each Physical Type can be found here: Physical Type
-
After selecting the Physical Type, an object type and side will be created e.g. Tape 1 Side 1
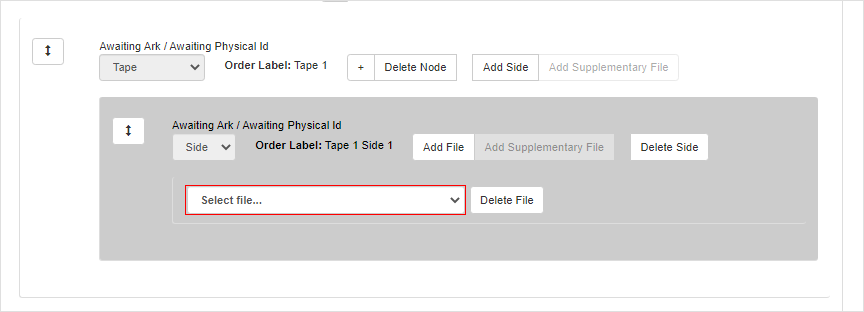
-
Select the file for that Node and Side from the Select file… drop-down
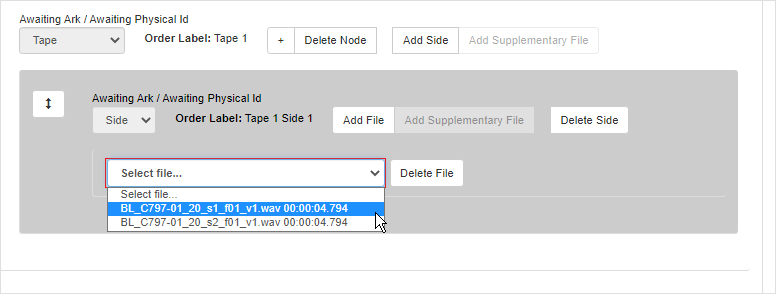
- To add another side, click the Add Side button
- To add another physical object, click the Add Node button
-
Using the necessary Nodes and Sides, build the complete Physical Structure for all transferred items and their files
- Once complete, press Save
- To move to the next Step tick the Step Complete box and press Continue »
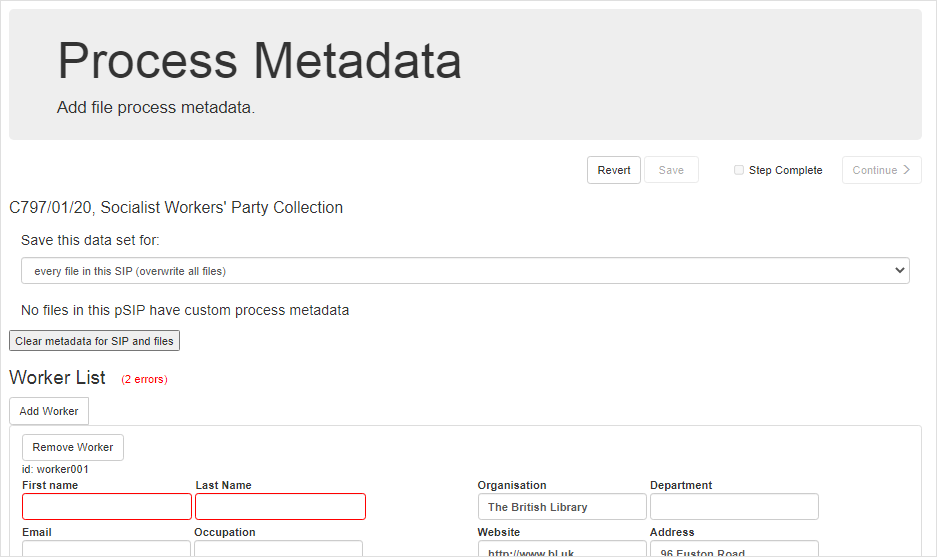
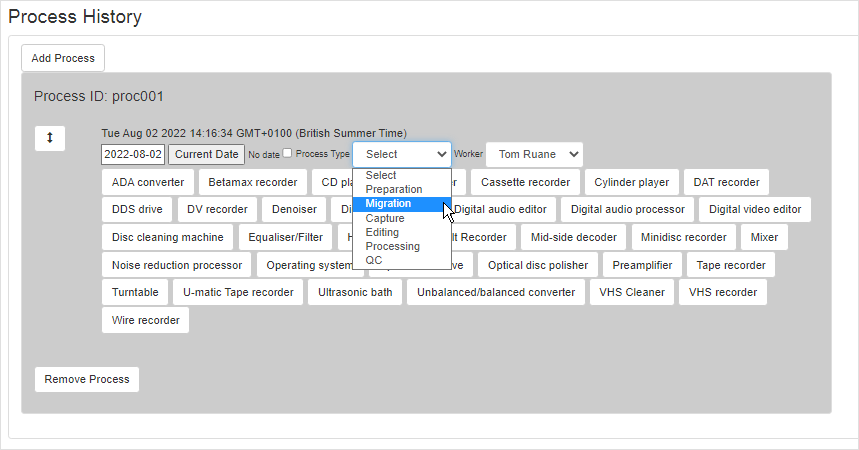
Step 5: Process History
Describe the full transfer history of the item(s) including all processing and equipment used
-
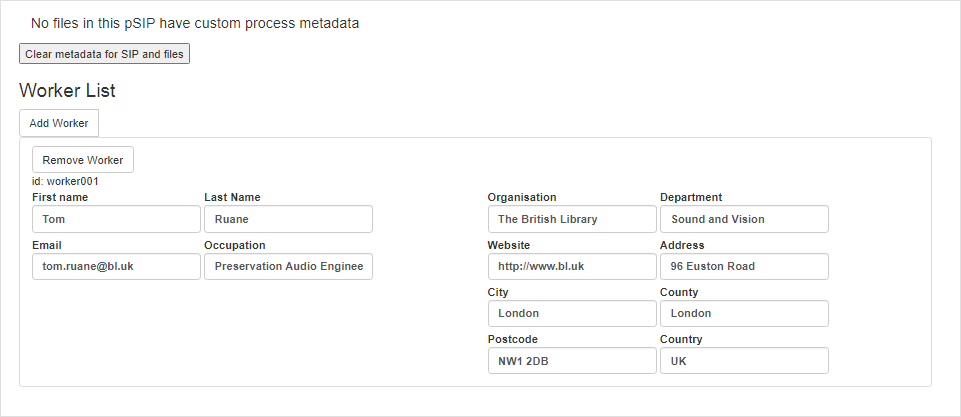
In the Worker List, fill in the details of any persons involved in the transfer of the item(s). Additional people can be added to the to the list by clicking the Add Worker button
- By default there will be an undefined Process Type in the Process History
-
Select the first Process from the Process Type drop-down list:
- Preparation
- Migration
- Capture
- Editing
- Processing
- QC
- Press the Add Process button under Process History to add a new process
-
Details on each Process can be found here: Process Type Definitions
-
Enter the date of the Process in the date box
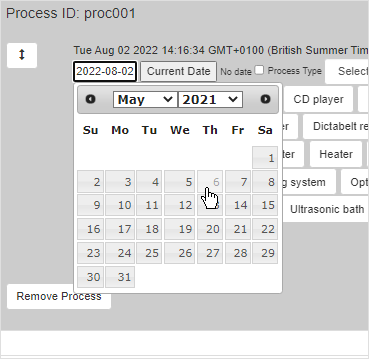
-
Add each piece of equipment used in the transfer by selecting the Device Type in Device menu
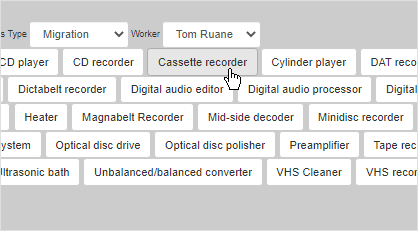
-
Populate all the drop-down options to accurately describe the model, make of each device and any replay parameters
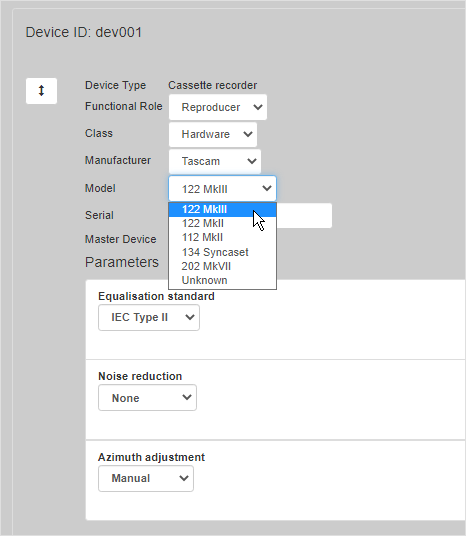
-
Include the serial number for each device, when available
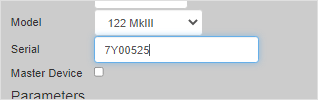
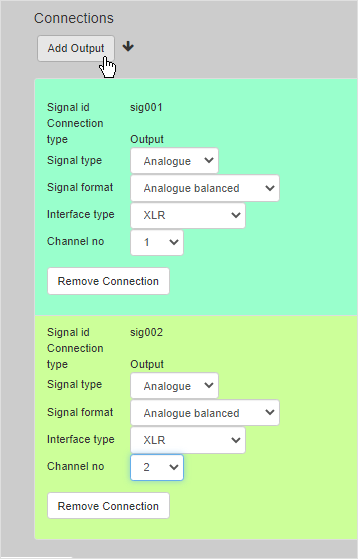
- Add all the neccessary Input and Output connections between equipment
-
Ensure the numbered Inputs and Outputs of the equipment match the real world signal chain
- Once the Process History is fully detailed, press Save
- To move to the next Step tick the Step Complete box and press Continue »
Notes:
- A typical Process History will consist of a Migration, Capture and Editing stage
- As a minimum the Process History requires a Migration stage
- Common Process History examples can be viewed here: Example Process History