Post-Transfer Tasks
1. How to Swap Sides
In certain circumstances it will be necessary to change the existing Physical Structure in a SIP. The following guide outlines the steps to download, rename, re-add and reassign the files in the Physical Structure.
Before making any changes download backup copies of the WAV files from the Summary Page in case you need to revert back to the original files. Details on downloading files from the AV SIP Generator can be found at Downloading Files
-
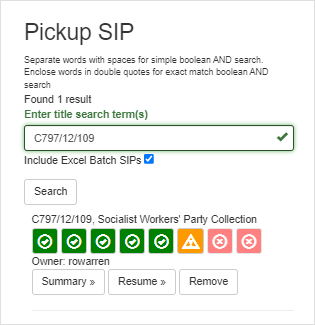
Search the item Shelfmark in the Pickup SIP search box
-
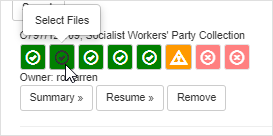
Click on the Stage 2 Select Files button
-
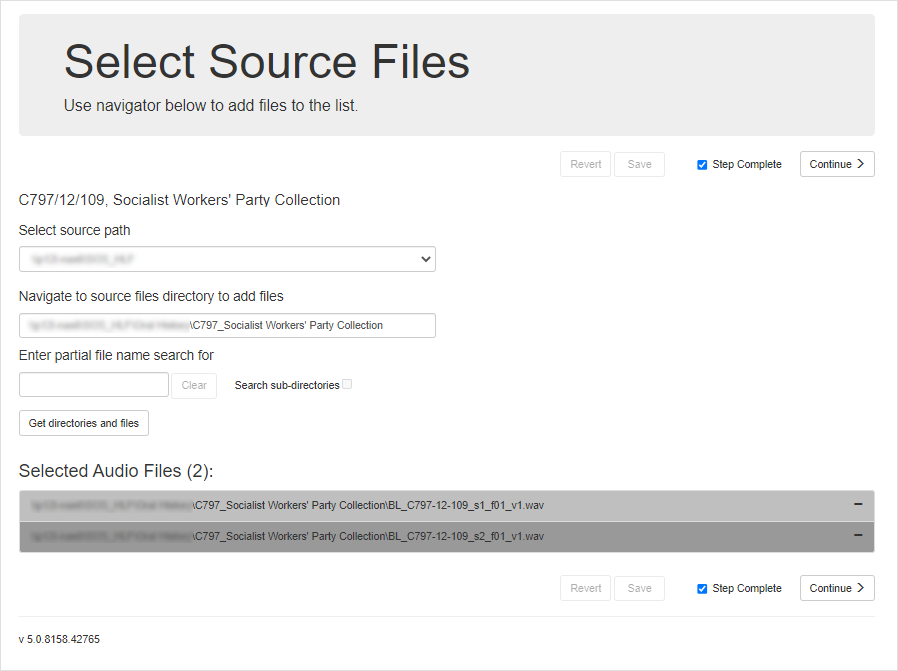
This will take you to the Select Source Files page, where you can view all the files attached to the SIP
-
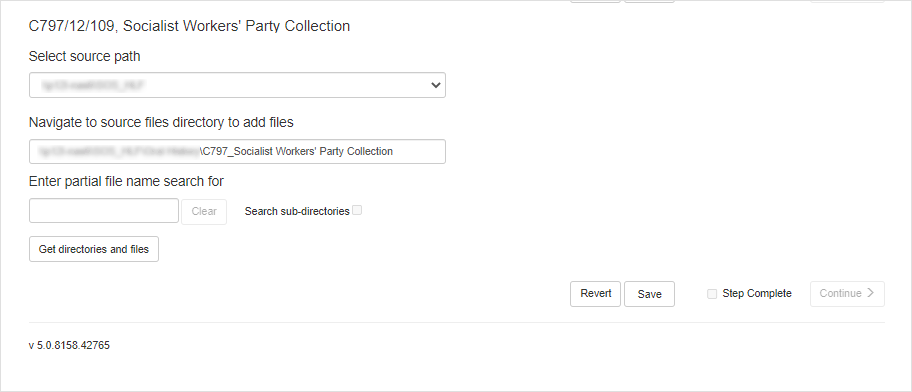
Take note of the source \server\directory as this is the location the files will be returned to. To remove the files from the SIP, click the minus (-) symbol next to each file listed under the Selected Audio Files section.

Note: if the source directory has since been deleted an error will appear stating the location no longer exists. To overcome this, recreate the original directory structure on the server so the files can be moved back to their source location
-
After deselecting the files, click Save to record the change
- Leave the SIP tool and use Windows File Explorer to navigate to the source directory where the files are now stored
- Delete the .md5 file checksums
-
Rename the files to match the new ordering. For example s1_f01_v1 => s2_f01_v1

Details on the Library’s file naming schema for audio files can be found at How to Name a File
-
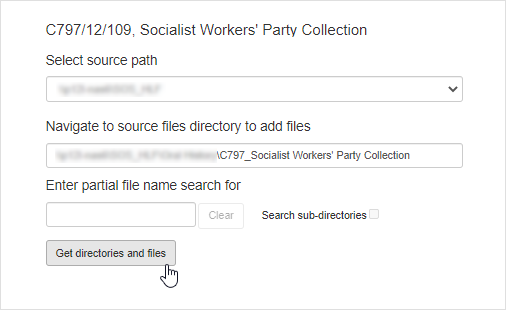
Return to the Select Source Files page and click Get directories and files. Note: the source path to the files should be saved from the original selection
- A file list will appear, select the files to re-attach to the SIP by pressing the plus (+) symbol next to each one
-
The selected files will be listed below in the Selected Audio Files section
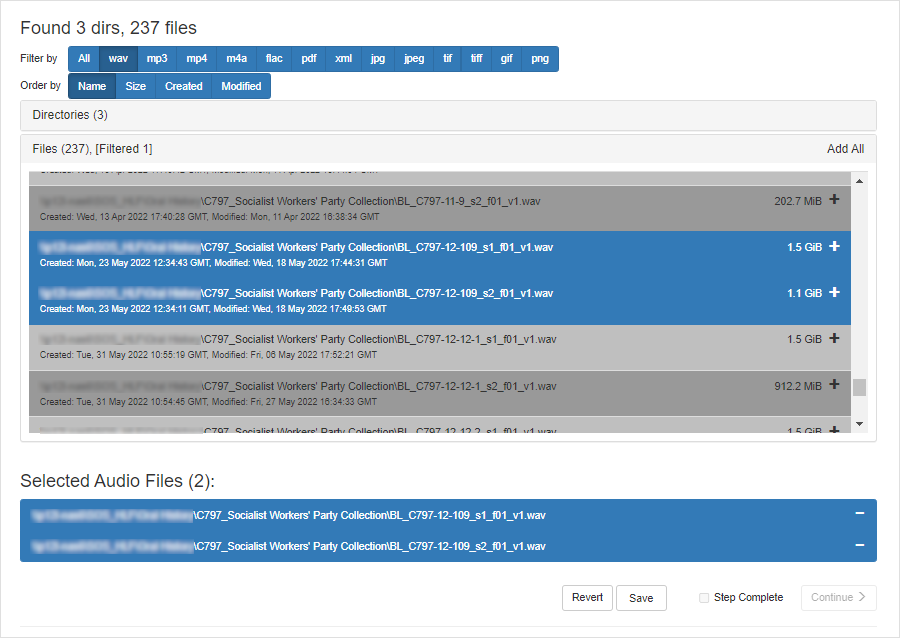
- Once complete, press Save
-
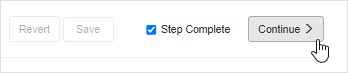
To move to the next Step tick the Step Complete box and press Continue »
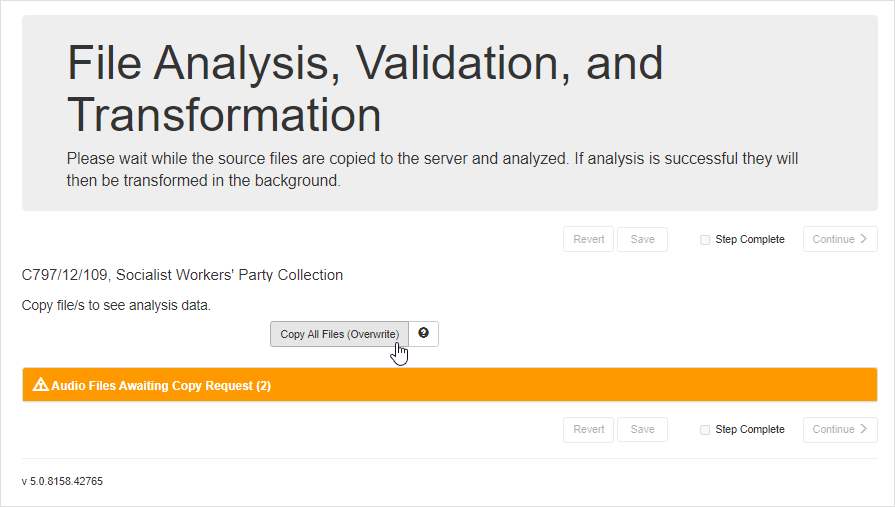
- This will take you to Step 4: File Analysis, Validation, and Transformation
-
Click the Copy All Files (Overwrite) button
-
The files will be copied from their source location to the hold area for analysis

-
After successful verification the files will be passed to the transformation servers

- Once all processing is complete, press Save
- To move to the next Step tick the Step Complete box and press Continue »
-
This will take you to Step 5: Physical Structure, where the existing, empty Physical Structure will be visible
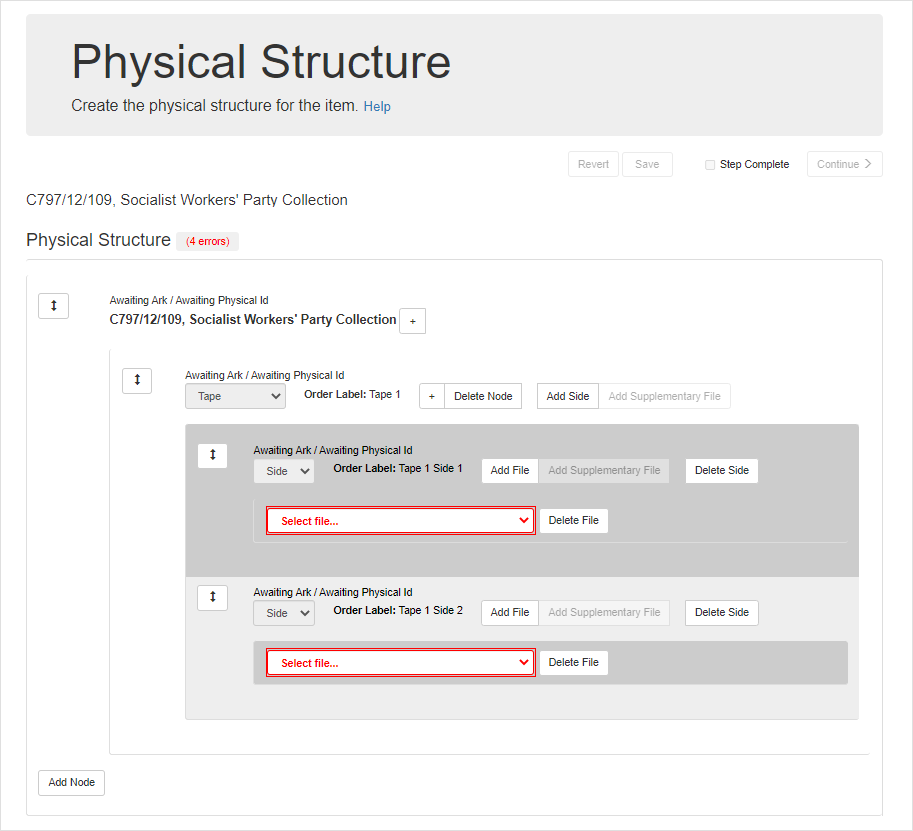
-
Click on Select file… drop-down list and assign the renamed files to their respective Node(s) and Sides
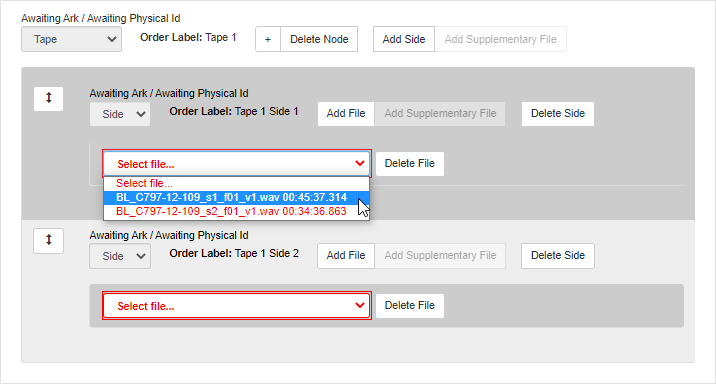
- Once complete, press Save
-
To move to the next Step tick the Step Complete box and press Continue »
- Press Step Complete and Continue on all subsequent Steps, this will re-save the existing data in each Step, without altering it